Learn how to blanch green beans with fresh green beans with this simple method. They can be used right away or made for future use for meal prepping.
Jump to Recipe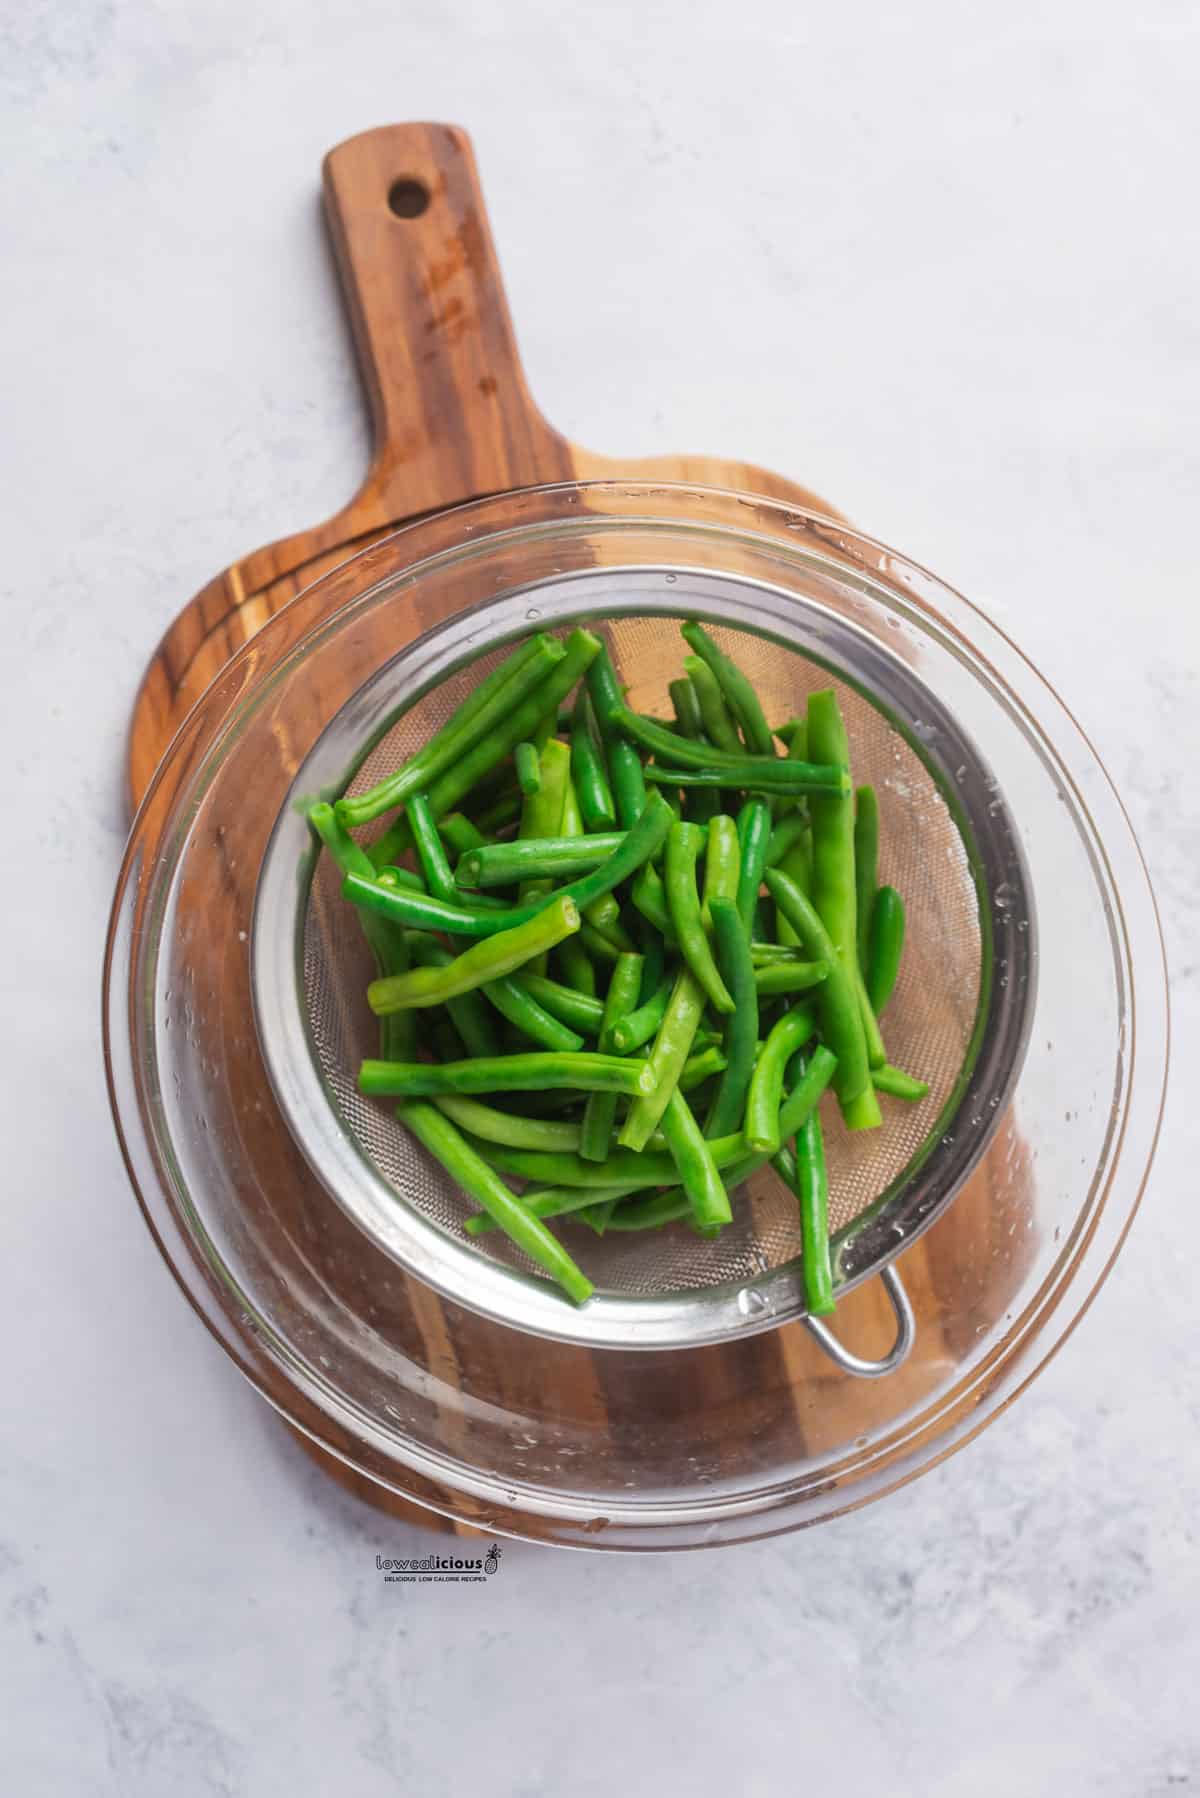
This post contains some affiliate links, which means that we make a small commission off items you purchase at no additional cost to you.
How to Blanch Green Beans
This is a really simple method with a step-by-step guide to show you how to blanch green beans.
Blanched green beans are a really easy way to meal prep vegetables for lunch or dinner. You can effortlessly add some extra healthy veggies and nutrients to your diet!
Blanched means the fresh beans are partially cooked so they have a crisp-tender texture and keep their bright green color.
Green beans go by a variety of names, such as String Beans, Snap Beans, or Haricot Verts. Wax Beans are yellow beans and then there are also Purple Green Beans which start out purple but turn green when cooked.
There are so many delicious uses for blanched green beans. Here are a few tasty ways to enjoy them:
- as a Meal Prep Side Dish
- Nicoise Salad
- Green Bean Salad
- Three Bean Salad
- Green Bean Casserole – we love this delicious gluten free green bean casserole recipe!
- Add to stir fry or pasta dishes
- or freeze for later to enjoy any time of year
I often add blanched green beans to my weekly meal plans, they go great with so many different types of meals, cuisines, and proteins.
LOVE THESE LOW CALORIE DINNER IDEAS?
Join the Low Calorie Recipes and Meal Prep group on Facebook!
Ingredients for Blanched Green Beans
This recipe calls for one pound of green beans but you can easily double or triple the recipe depending on your needs.
Calorie breakdown
- Raw Green Beans – 35
- Fine Sea Salt – 0
Total Calories/Serving – 35
*Calories are approximate and vary depending on specific products/brands used and whether measured by volume or by weight/grams. Calories were calculated using LoseIt App.
Find the complete recipe with measurements below.
How to Make Blanched Green Beans
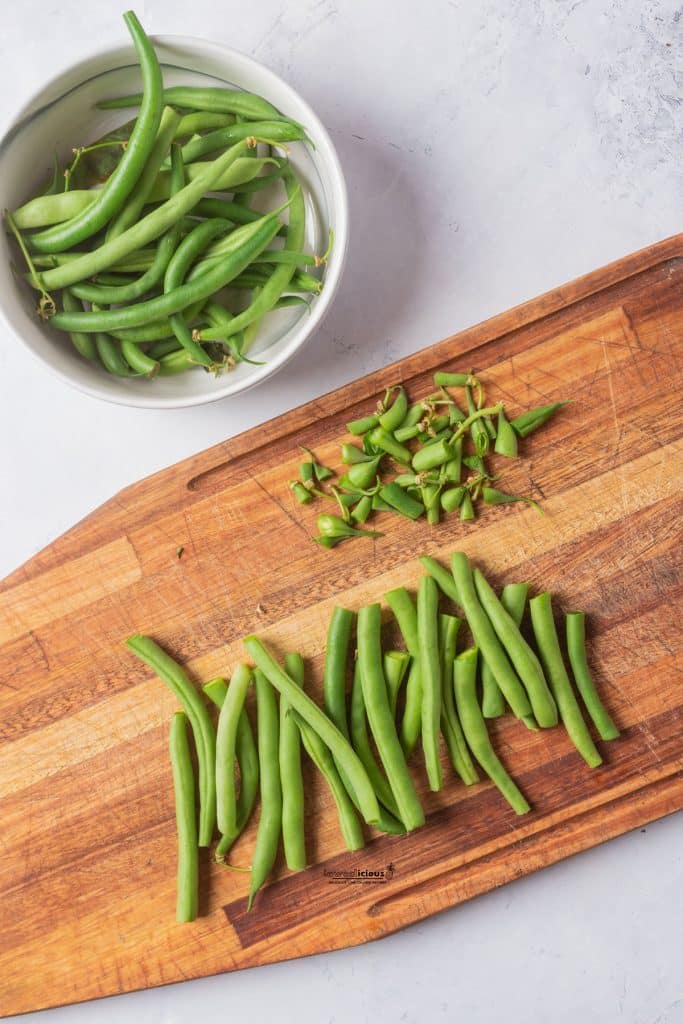
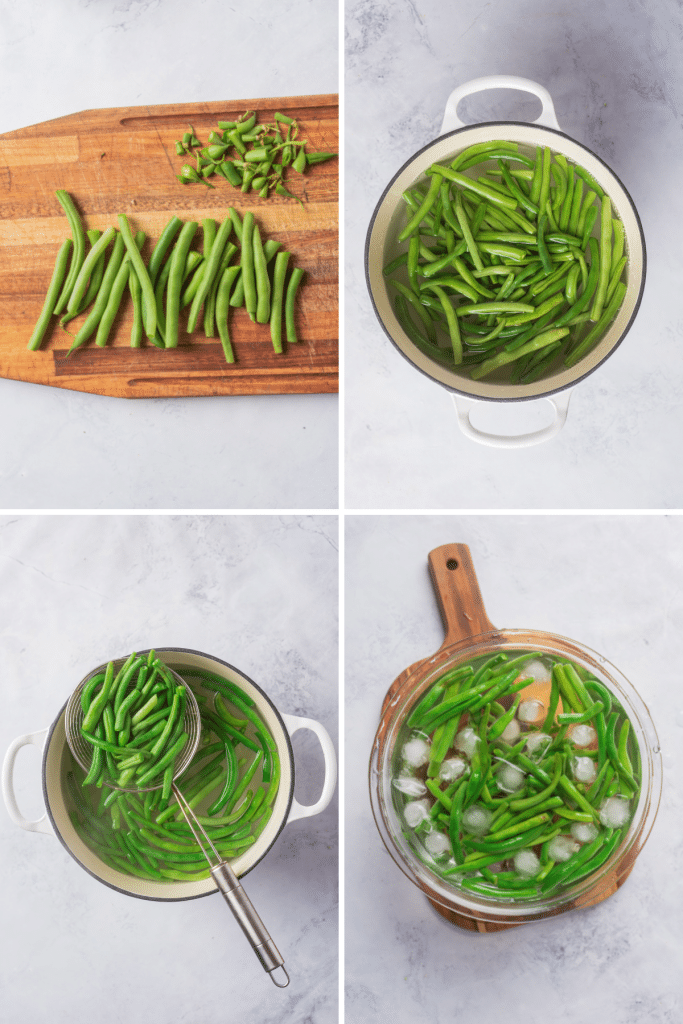
Step 1 . Use a sharp knife to trim the tops of the green beans. Fill a large pot of water, about halfway, and bring to a boil.
Step 2. Fill a large bowl of ice water to make an ice bath. Prepare a rimmed baking sheet by layering it with paper towels.
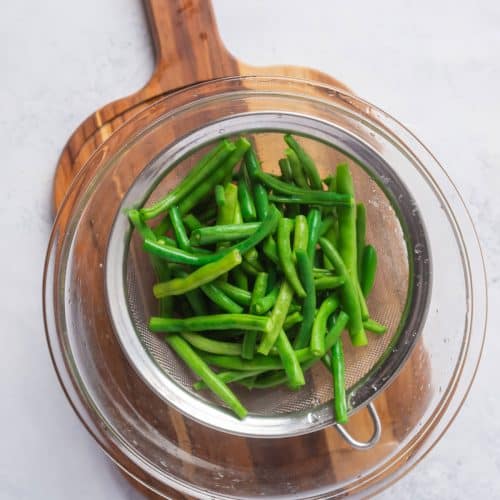
Step 3. Once the water comes to a rolling boil, add the salt to the boiling water. Add half the green beans and boil for 2 minutes. Then use a slotted spoon or spider strainer to remove the green beans from the boiling water and transfer them to the ice water bath. Leave the green beans in the water for a minute then transfer the green beans from the ice water and place them in a colander to drain.
Step 4. Transfer the green beans to the paper towel-lined cookie sheet in a single layer. Pat dry with a paper towel, if desired.
Step 5. Repeat the blanching process with the remaining green beans until all of the green beans are cooked.
How to Freeze Green Beans
To freeze fresh green beans, first, follow the method through blanching step 4. Then, once they’re dry, arrange them in a single layer on a sheet pan and freeze them until they’re frozen solid.
You can store the frozen green beans in freezer bags for 6-8 months.
This is a great method to try if find yourself with extra green beans after a trip to the Farmer’s Market, grow your own green beans, or get a great deal on fresh green beans at the grocery store!
Tips for preparing for making this recipe
- Feel free to cut the green beans in half if you don’t want to keep them whole. I suggest you cut them after they’re blanched because smaller pieces of beans will cook faster and may overcook. If you’re meal prepping, keep them whole or cut them into one- to two-inch pieces.
- You do not need to add any olive oil to this recipe because the fresh beans are getting boiled. It’s a nice low-fat vegetable recipe!
- Decrease the cooking time if you have really thin or small green beans.
- Use plenty of ice and add more ice cubes if needed! The ice-cold water stops the cooking process.
- This cooking method produces crisp-tender beans since they’re only partially cooked. If you’d like tender green beans, just cook them a couple of minutes longer. 1-2 minutes should get you fully cooked green beans and the results you’re looking for.
Be sure to check out the full recipe and ingredient list below
How to Blanch Green Beans Video Tutorial
Favorite Green Bean Recipes
- Air Fryer Green Beans
- Roasted Green Beans
- Grilled Green Beans
How to Blanch Green Beans
Equipment
- Paper Towels
Ingredients
- 1 pound fresh, raw green beans
- 1 Tablespoon fine sea salt
Instructions
- Use a sharp knife to trim the tops of the green beans. Fill a large pot of water, about halfway, and bring to a boil.

- While the water is heating up, fill a large bowl of ice water to make an ice bath. Prepare a rimmed baking sheet by layering it with paper towels.
- Once the water comes to a rolling boil, add 1 tablespoon of sea salt to the boiling water. Then add half the green beans. Boil the green beans for 2 minutes.
- Remove the green beans with a slotted spoon and place the green beans in the ice water bath. Leave the green beans in the water for a minute.
- Then, remove the green beans from the ice water and place them in a colander or mesh strainer to drain.
- Transfer the green beans to the paper towel-lined cookie sheet in a single layer.
- Repeat the blanching process with the remaining green beans until all of the green beans are cooked.


Video
Notes
- Do not cook longer than 2 minutes for blanched green beans. Otherwise, you’ll have fully cooked, boiled green beans.
- The extra step of drying the green beans ensures your green beans will not add any extra water to the dishes you will be using them in.
- I have not tried this cooking method for blanched beans with frozen green beans.
- Use the blanched green beans in a recipe right away, eat as-is, or store in meal prep containers until ready to eat.
Tools you’ll need


BE SURE TO FOLLOW ME ON INSTAGRAM AND HASHTAG #LOWCALICIOUS OR TAG @EATLOWCALICOIUS – I LOVE SEEING WHAT YOU MAKE!
IF YOU LOVE THIS tutorial for THE BEST WAY to blanch green beans,
BE SURE TO FOLLOW ME ON SOCIAL MEDIA SO YOU NEVER MISS A POST:
| FACEBOOK | TWITTER | PINTEREST | INSTAGRAM | YOUTUBE | NEWSLETTER | TIKTOK |
PIN THIS RECIPE TO SAVE FOR LATER